In this article, we will look at the next steps after generating our claim for support at Home. If you have not completed the initial step of generating a claim, please review this article first before continuing here.
Reconciliation
Let’s now take a look at step 2: Upload payment determination.
Once you’ve submitted your claim, you’ll receive a payment statement back from Services Australia. This outlines the finalised payment amounts (government and client contributions) for each service, as well as identifies the funding source being drawn upon.
To complete the next step, you should download the .csv file from the Aged Care Provider Portal and upload it to your Lookout instance.
Reminder: Manually editing the CSV file — after export from Lookout or before re-upload — is not a supported workflow and will break reconciliation. This causes variances against the government-issued payment determination file and account balance discrepancies between Services Australia and Lookout. Before uploading, ensure every claimed invoice item has a corresponding Lookout invoice captured in the relevant Support at Home claim.
Come back into Lookout, navigate to the Claiming section in the main side menu and click Support at Home.

This will load a new screen where you can view previous claims, check their Lookout status, and see amounts submitted for claiming.
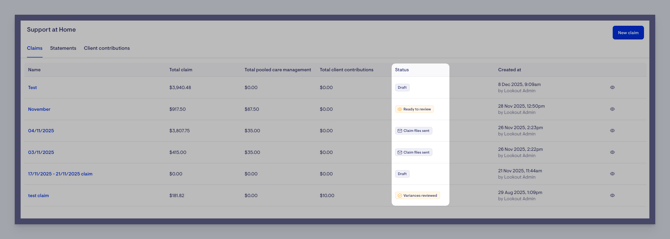
Please note: Lookout will not alert you as to when the payment statement is ready, you will need to check the Aged Care Provider Portal for your claim status.
Click on the claim here you wish to continue with to load back into the claim-building screen.

You will notice that on step 1 – Generate package for claiming, there is now a tick in the blue circle and a small update at the bottom of the box indicating when the claim was exported. You will see there is also an undo link there. This can be clicked should you need to repackage your claims.
Tip: Do not undo this step once the files have been submitted to Services Australia. This may cause the claim information to be misaligned.
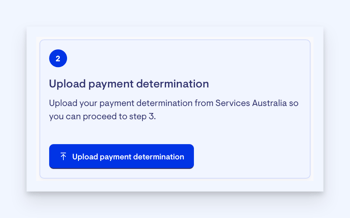
You’ll see that step 2, is now highlighted and is ready to complete. Let’s start step 2 by clicking the blue Upload payment determination button.
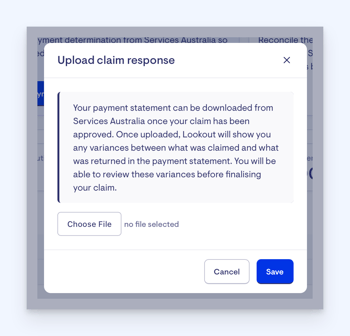
A pop-up window will appear with an upload file button for you to select your claim response. Find and select your file then hit the blue Save button when ready
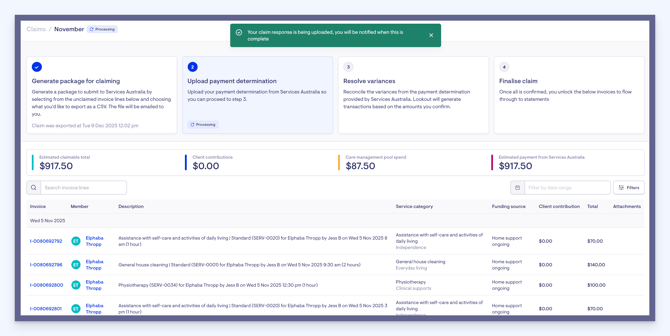
A green banner will appear letting you know your response is being uploaded. You will be notified when it is complete.
You’ll also see next to your claim name a status update, as well as in the step box.
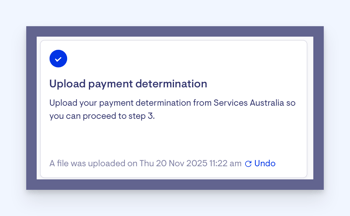
You’ll also notice when complete, that step two will change to a blue tick and includes an added comment documenting when your file was uploaded.
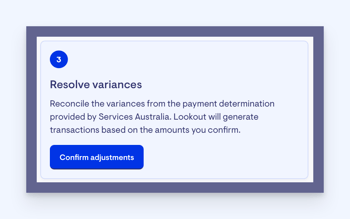
Now you’ll see step 3 has now become active for us to start – resolve variances.
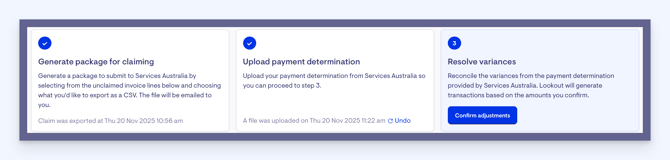
In step 3, we will now reconcile the variances from the payment determination provided by Services Australia. Lookout will generate transactions based on the amounts you confirm.
Your invoices will appear in a list, with any variance information clearly displayed. To make things easier at a glance, we’ve added simple colour coding: invoices without a variance are highlighted in green, while those with a variance appear in red. This helps you quickly spot which invoices may need attention.

You can also search within the results, apply filters, or use the “Show variances only” option to focus on just the invoices that differ. You can also use the "Download items" button to be sent a copy of your claim reconciliation report.

Please note: We are highlighting the variances here for your information. Services Australia is the source of truth for all payments, you can not dispute the amounts from within Lookout. If you want to submit an adjustment, you will need to do so via Services Australia’s contact channels.
Once you have reviewed, you can go ahead and press the Confirm adjustments button.
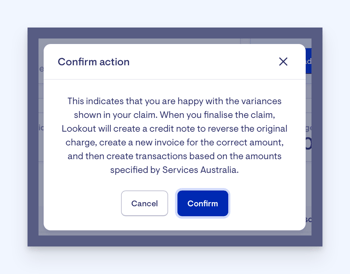
A confirmation window will appear asking you to confirm your decision again. Confirming indicates that you are happy with the variances shown in your claim. When you finalise the claim, Lookout will create a credit note to reverse the original charge, create a new invoice for the correct amount, and then create transactions based on the amounts specified by Services Australia. Press the blue Confirm button to progress.
A green banner will appear confirming your claim has been reviewed. Step 3 will now be stamped with a reviewed on date and does have an undo button, should you wish to re-review.
Now step 4 is ready, finalise the claim.

Please note: As it’s the first claim, it will populate all unspent funds and transfer from old HCP accounts into new SaH accounts.
Click the blue Finalised claim to flow through to statements button.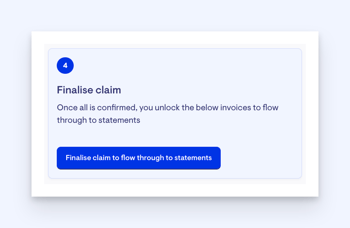
A pop-up window will appear asking you to confirm this action.

When you click 'Confirm', a green banner message will appear, confirming that your claim is being finalised. You’ll also see a new update message – finalising transactions.
You will receive an email when this is complete. All steps on the claim building screen will now show as completed.

FAQs
How do I reconcile multiple claims on Lookout if they have been submitted as one claim to Services Australia?
If you have opened multiple claims on Lookout, but submitted them to Services Australia as a single claim and received only one payment statement, you will only have to finalise one of the claims.
Once you have uploaded the payment summary on Step 2, all invoices referenced in that file will automatically be moved into the claim you have chosen. The remaining claims will be empty and you can then ignore or remove them.
How is the financial hardship fee reduction handled during claiming?
When a financial hardship application is approved, Services Australia still calculates the client contribution using the normal percentage, but then applies a fee reduction that offsets it. The amount that Lookout receives and processes is the final net result, after the reduction is applied.
- The invoice amount and payment amount stay the same
- The client contribution stored and claimed in Lookout already includes the hardship reduction
- If hardship fully covers the contribution, the final client contribution will be $0
- An original client contribution, and
- A matching fee reduction,