In this article, we'll cover the essential steps required to begin rostering services on Lookout quickly!
We'll cover each step in enough detail to get started and provide additional resources for further reading.
❗️Refer to our Configuring Lookout - NDIS guide if you are setting up Lookout for NDIS.
Configuration steps:
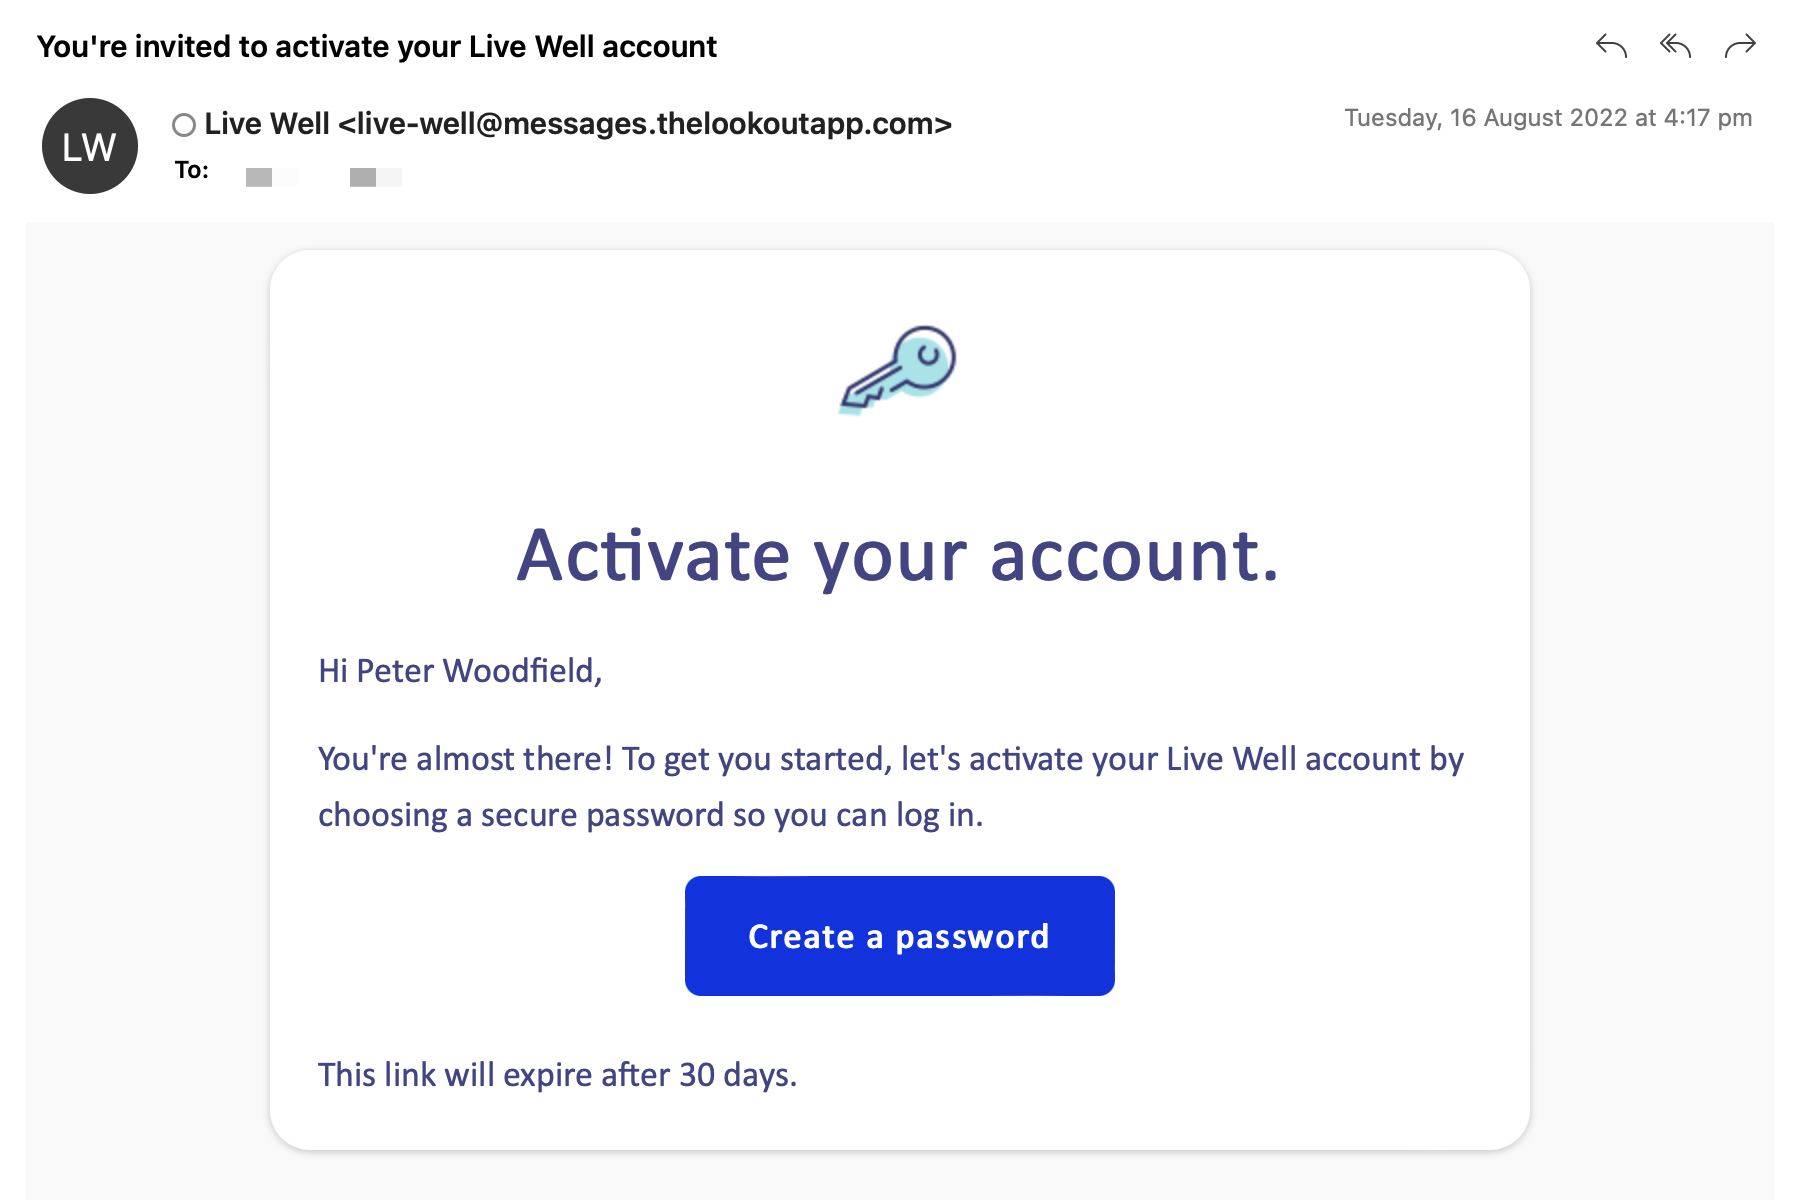
Activate your account
By now, you'll hopefully have received your unique link to activate Lookout.
If you have not received your activation link, please email [email protected] .
Your Lookout account uses Two-factor authentication (2FA), a secure sign-in process that combines something you know (your password) with something you have (your phone).
So even if someone gets access to your password, they'll be prevented from logging into your account as they don't have access to your authentication code.
Learn more: Setting up two-factor authentication
Funding Setup
Some additional configuration may be required if you offer services under the following funding schemes.
Commonwealth Home Support Programme (CHSP)
The Commonwealth Home Support Programme (CHSP) helps senior Australians access entry-level support services to live independently and safely at home.
Follow the steps outlined in our Getting started with CHSP guide to set up CHSP outlets and create rates. Once completed, return to this guide and proceed to the Add your Services step.
Add your Rates
Rates model the pricing for services that Care Workers (Helpers) offer Participants (Members). They are comprised of a Name, Descriptions, Item Code, Tax details, suggested default price, company percentage, and quantity type.
Creating rates
To create a new rate, navigate to the Settings cog within Lookout (it's located at the bottom in the left-hand side navigation bar).
-
Click on Rates
-
Select New
-
Define the Name, Description, Price, Item Codes and Tax settings.
-
External ID field.
-
CHSP - Add the Service Type ID to the External ID field.
Commonwealth Home Support Programme (CHSP) - Service Type ID Table -
NDIS - Add the NDIS Support Item Number to the External ID field.
-
-
Click Save
The rate has now been added and can be assigned to a Care Worker.
* Rates can be edited at any time. It's important to note that price changes will not affect existing contract agreements or Helpers defined default prices (if they have set their own).
Add your Services
Services in Lookout are the different service types you provide to members. Examples might be 'Domestic Assistance', 'Medication Support', 'Physiotherapy', 'Personal Care' or 'Gardening Service'.
Lookout has pre-loaded a selection of common services to help get you started.
Creating services
To create a new service, navigate to the settings page in Lookout and click on Services under "Other". Then click on New service to create a new service type.
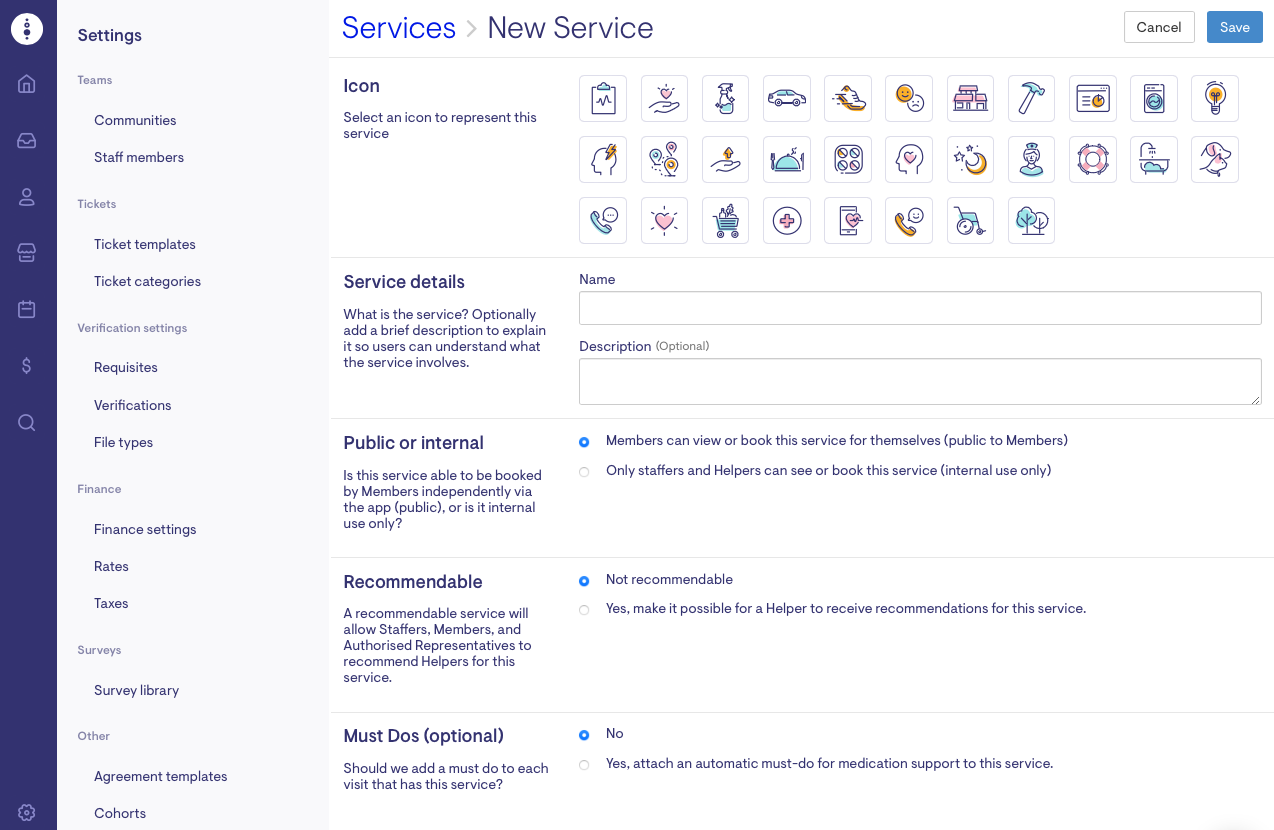
After entering all the required details, click Save in the top right corner to create the service.
Learn more: Setting up Services in Lookout
Configure Membership Plans
Membership plans in Lookout help to group services and rates under one umbrella. This is the foundational mechanism behind Lookout's smart rates, which assists users in choosing the correct rate when creating a visit based on the membership plan, visit services and visit time. Membership plans also serve as a template to define default pricing for care management and package management fees in Lookout.
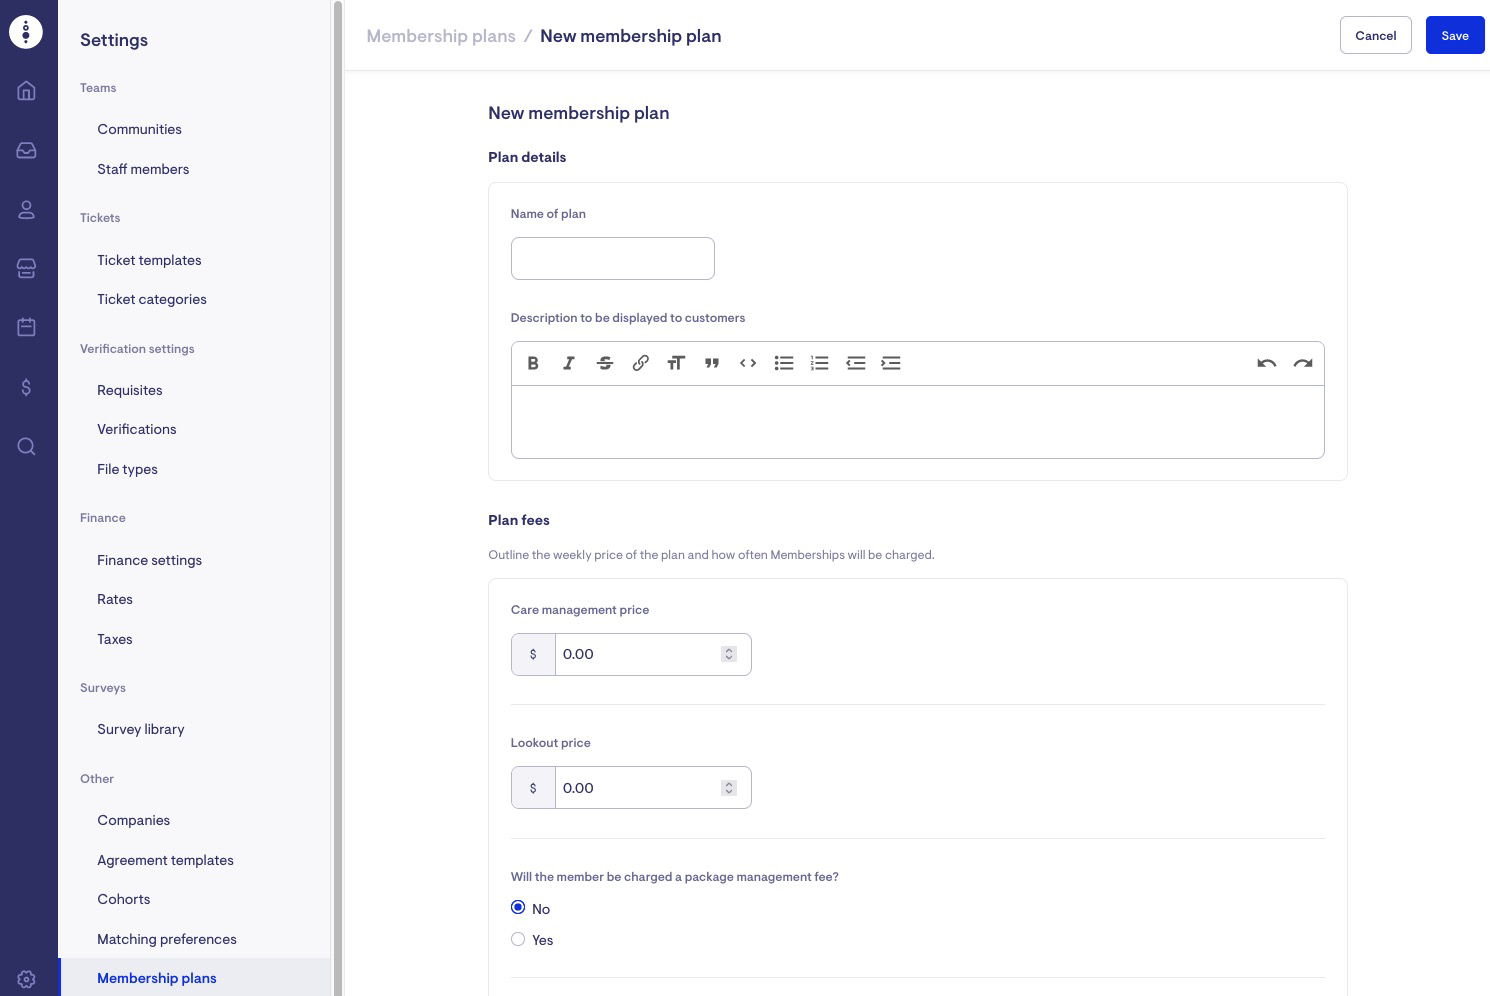
Creating membership plans
To create a new membership plan, navigate to the settings page in Lookout and click on Membership plans under "Other". Then click on New membership plan to create a new membership plan.

Enter a membership plan name and description so that other users of Lookout can easily identify the appropriate membership plans when setting up memberships.
Care management fees
For membership plans that charge members a care management price, add the weekly price under care management. This will generate a weekly invoice with this amount for clients that are on this membership plan. If there is no care management price for the plan, set the price to $0.
Package management fees
If the membership plan has a package management fee, select "yes" to "Will the member be charged a package management fee?". Then add the weekly package management fee price. This will generate a weekly invoice with this amount for clients that are on this membership plan.
Enter the payment frequency for the membership plan. Care management and package management fees will only be automatically invoiced for plans with a weekly payment frequency. These fees will need to be manually invoiced for other payment frequencies (i.e. twelve weekly and annually).
Then set the GST type for the membership plan. If this membership plan is a self-managed membership plan where clients can make direct requests to support workers, then check the checkbox next to "Members can send Helper Requests, negotiate, and approve visits from Helpers via the app".
After entering all the required details, click Save in the top right corner to create the membership plan.
Add staff members
Before you add a new staff member, you need to create a profile for that staff member and invite them to Lookout.
-
Click on the Search EyeGlass on the left-hand menu bar
-
Click New Profile at the top right corner
-
Create a new Profile with the name, contact details and Date of Birth of the staff member - Click Save
-
Click Send Invitation to invite the Profile to Lookout. This will send them an email with a link to activate their account, set their password, and set up a second factor of authentication to protect your client's and worker's data.
Now that a profile has been created, the profile needs to be assigned as a Staff Member.
-
Click on the Cog at the bottom of the left-hand menu bar
-
Select Staff Member
-
Click New Staff Member
-
Search for the Profile by typing the staff member's name in the profile box then add optional bio details and their contact number
-
At the bottom of the same page as above, you can select the roles the new Staffer can perform. Selecting none is fine. This is only available to people with the role of human resources. These roles are to give them extra rights to Admin. The same person can perform multiple roles at the same time.
-
Click Save. The selected profile now has access to Admin
Learn more: User Management & Roles
⭐️ You're now ready to roster!
Congratulations on configuring Lookout. You're ready to add your clients and care workers so that a visit can be rostered.
Add your clients
Our Managing Members guide explains how to add and manage clients in Lookout.
Add your Care Workers
Follow our guide on Adding and configuring Care Workers in Lookout.
Roster your first visit
We have a Quick Start Guide for Rostering Staff to make this process easy.
Next steps
Now that you've rostered visits, the next step is to help familiarise your team with Lookout. We've created some quick start guides that can be shared.
Tips for Success
The articles below will help support best practices in care for your Members within Lookout.
Members (Clients)
Care Workers
Finance
How do I get support on Lookout?
We are here to help you with any issues with our service. To allow us to support you, please gather as much information as you can. Don't worry if you don't know all of these details. Anything you can tell us will be helpful.
The best way to get support is by one of the following:
-
You can search the Lookout Help Centre for advice and answers from the Lookout Way Team.
-
Talk live to support via chat (click the chat icon in the bottom right of the screen).
-
Book support time via zoom with our Customer Success Specialist (book here)