Managing Communities
Communities are a way to group together Members, Helpers and staffers (admin staff).
Communities can be grouped by location or any other grouping that makes sense to your business.
One of the main benefits of Communities is the ability for staffers (admin staff) to see an overview of useful information on their home dashboard related to the communities they’re assigned to. This information includes uninvestigated observations, Member and Helper leave and expiring verifications.
Helpers, staff members and Members can be added to multiple communities.
Creating a new community
-
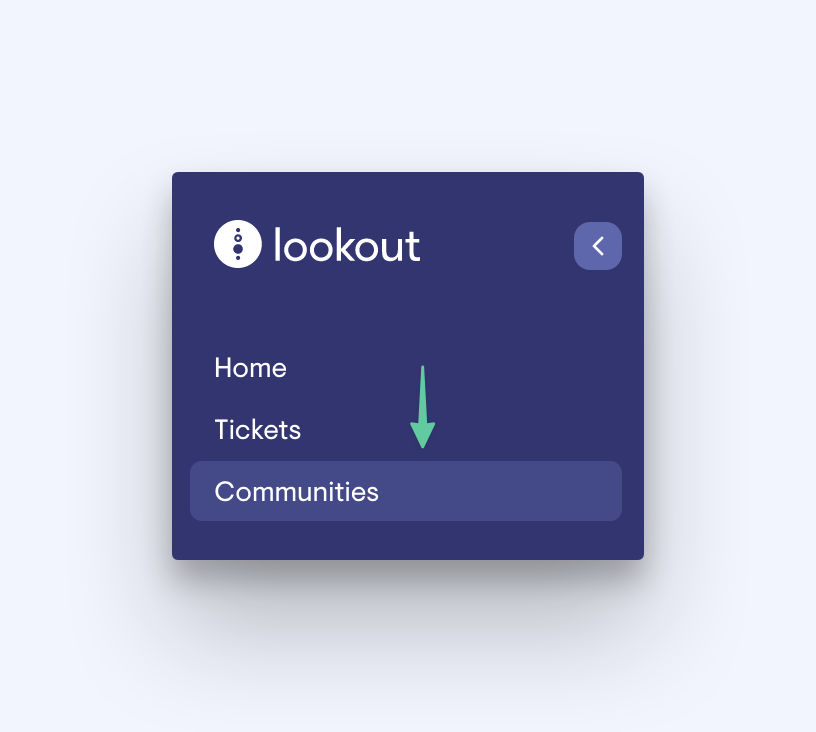
Click the ‘Communities’ link in the navigation
-
Click the ‘New community’ button at the top right
-
Enter the community name and then click ‘Save’
After saving you’ll see your new community, with tabs at the top for Helpers, Members and staffers. Each tab will allow you to add or remove people from the Community.

Additional functionality is available when adding Helpers, with an option to create rules which automatically add any Helper to the community who fits the rule. Alternatively Helpers can be added manually - Members and staffers can only be manually added.
Manually adding Helpers
-
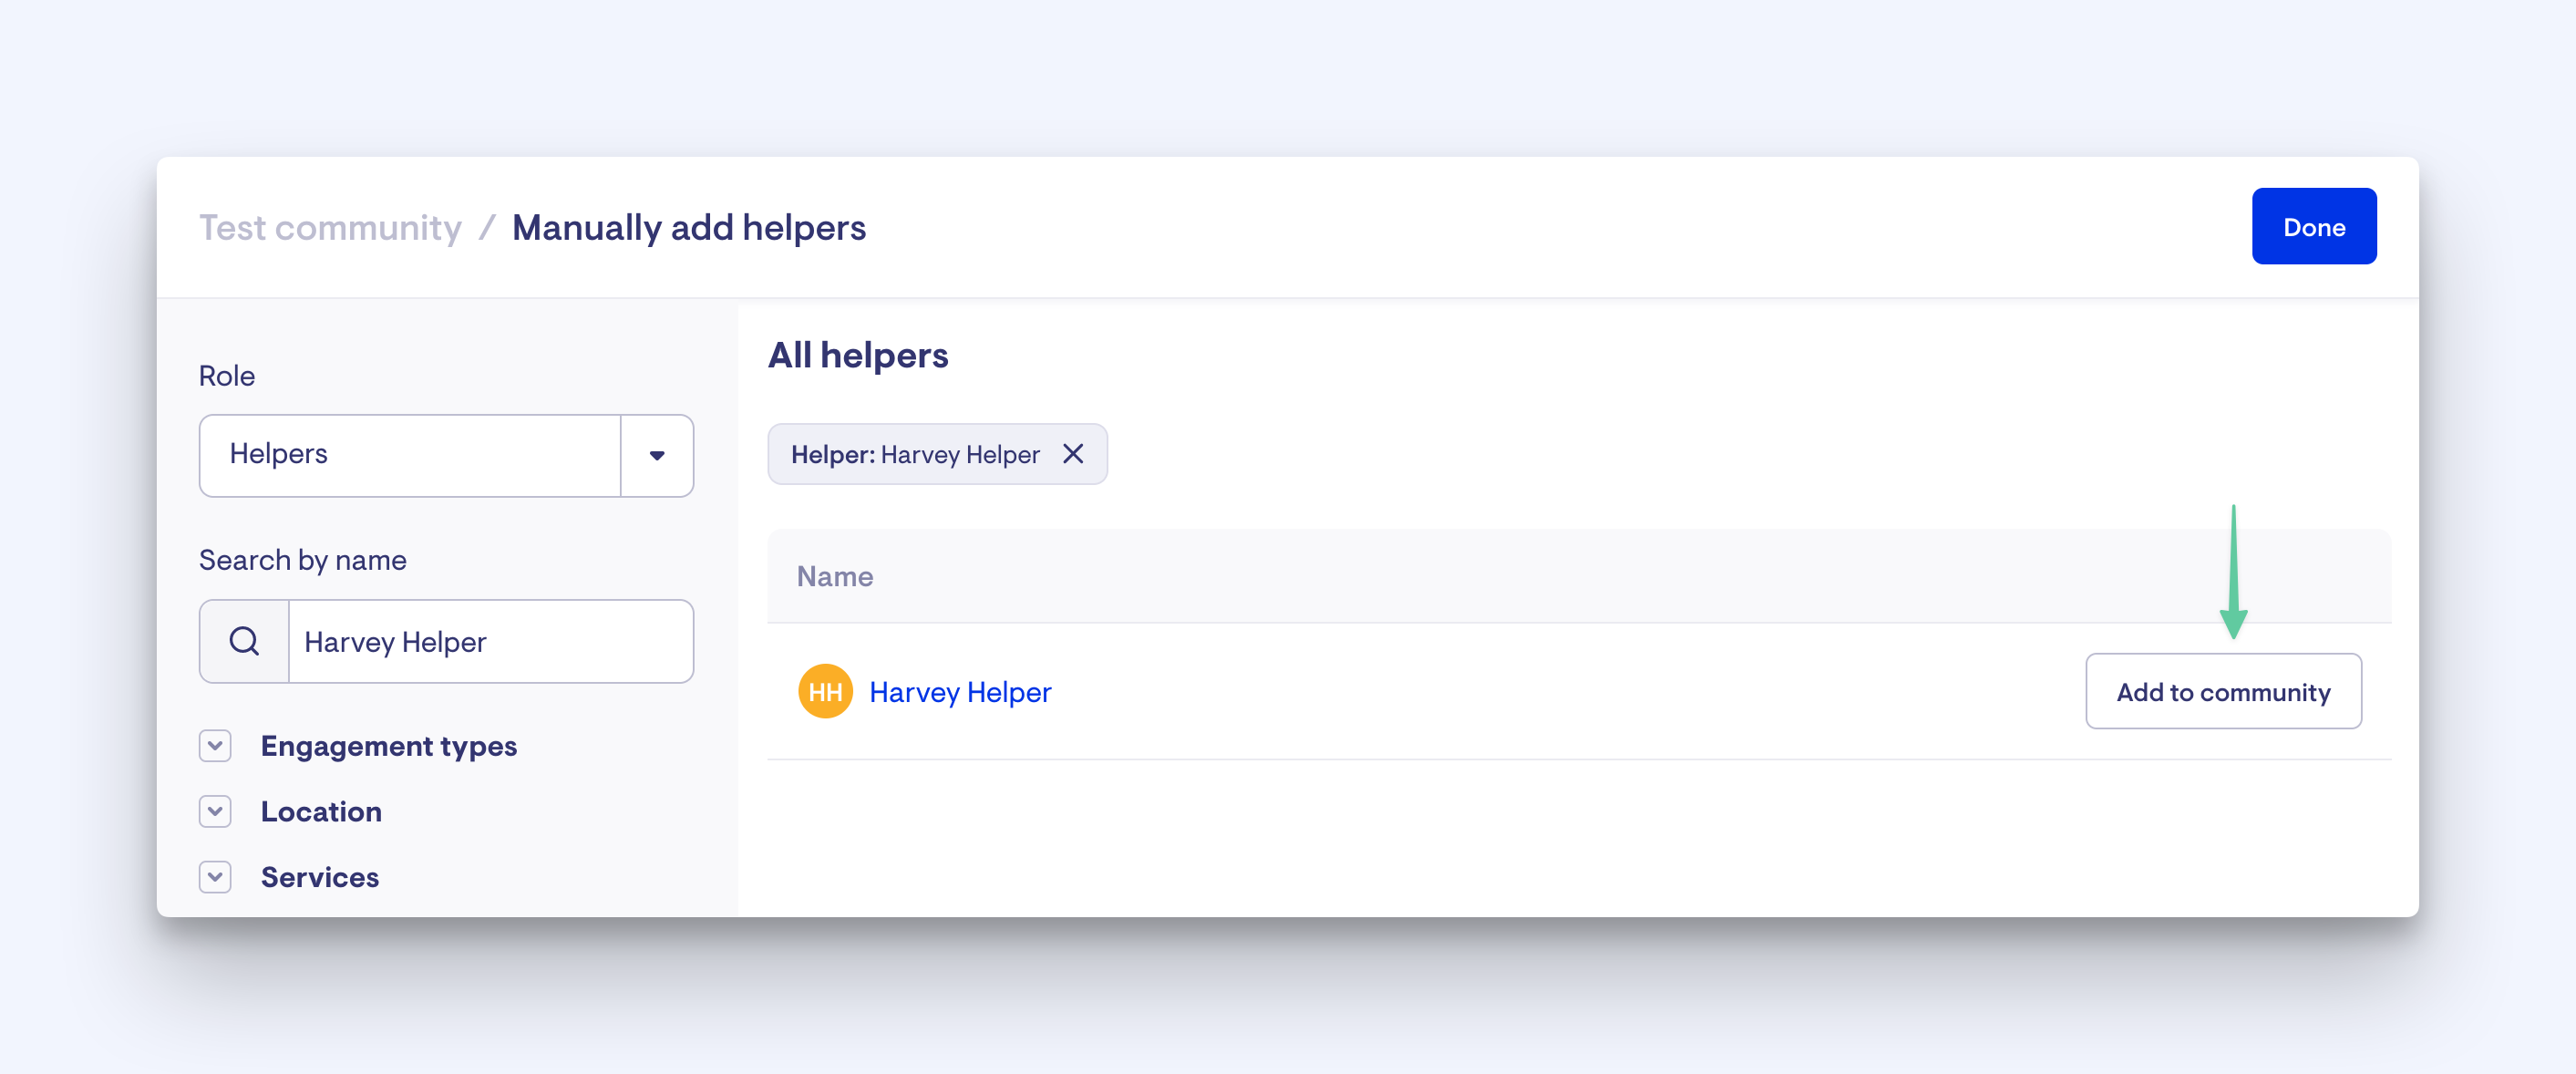
In the community Helpers tab, click the ‘Manually add helpers’ button
-
You’ll see a list of all your Helpers with a button ‘Add to community’ next to each name. Clicking the button will add the Helper to the community
-
You can also search by the Helper name, in the left sidebar, or filter using the options
-
You can remove the Helper from the community by clicking the ‘Remove’ button
Automatically add Helpers using the Helper rules
Lookout allows you to set up a rule which will continually look for Helpers that match the rule criteria, and automatically add them to the community.
Example: you may want to automatically add all the Helpers within 10kms of a location to a community. Once the rule is set up, every time a Helper is added to Lookout who match this criteria they will be added to the community automatically.
-
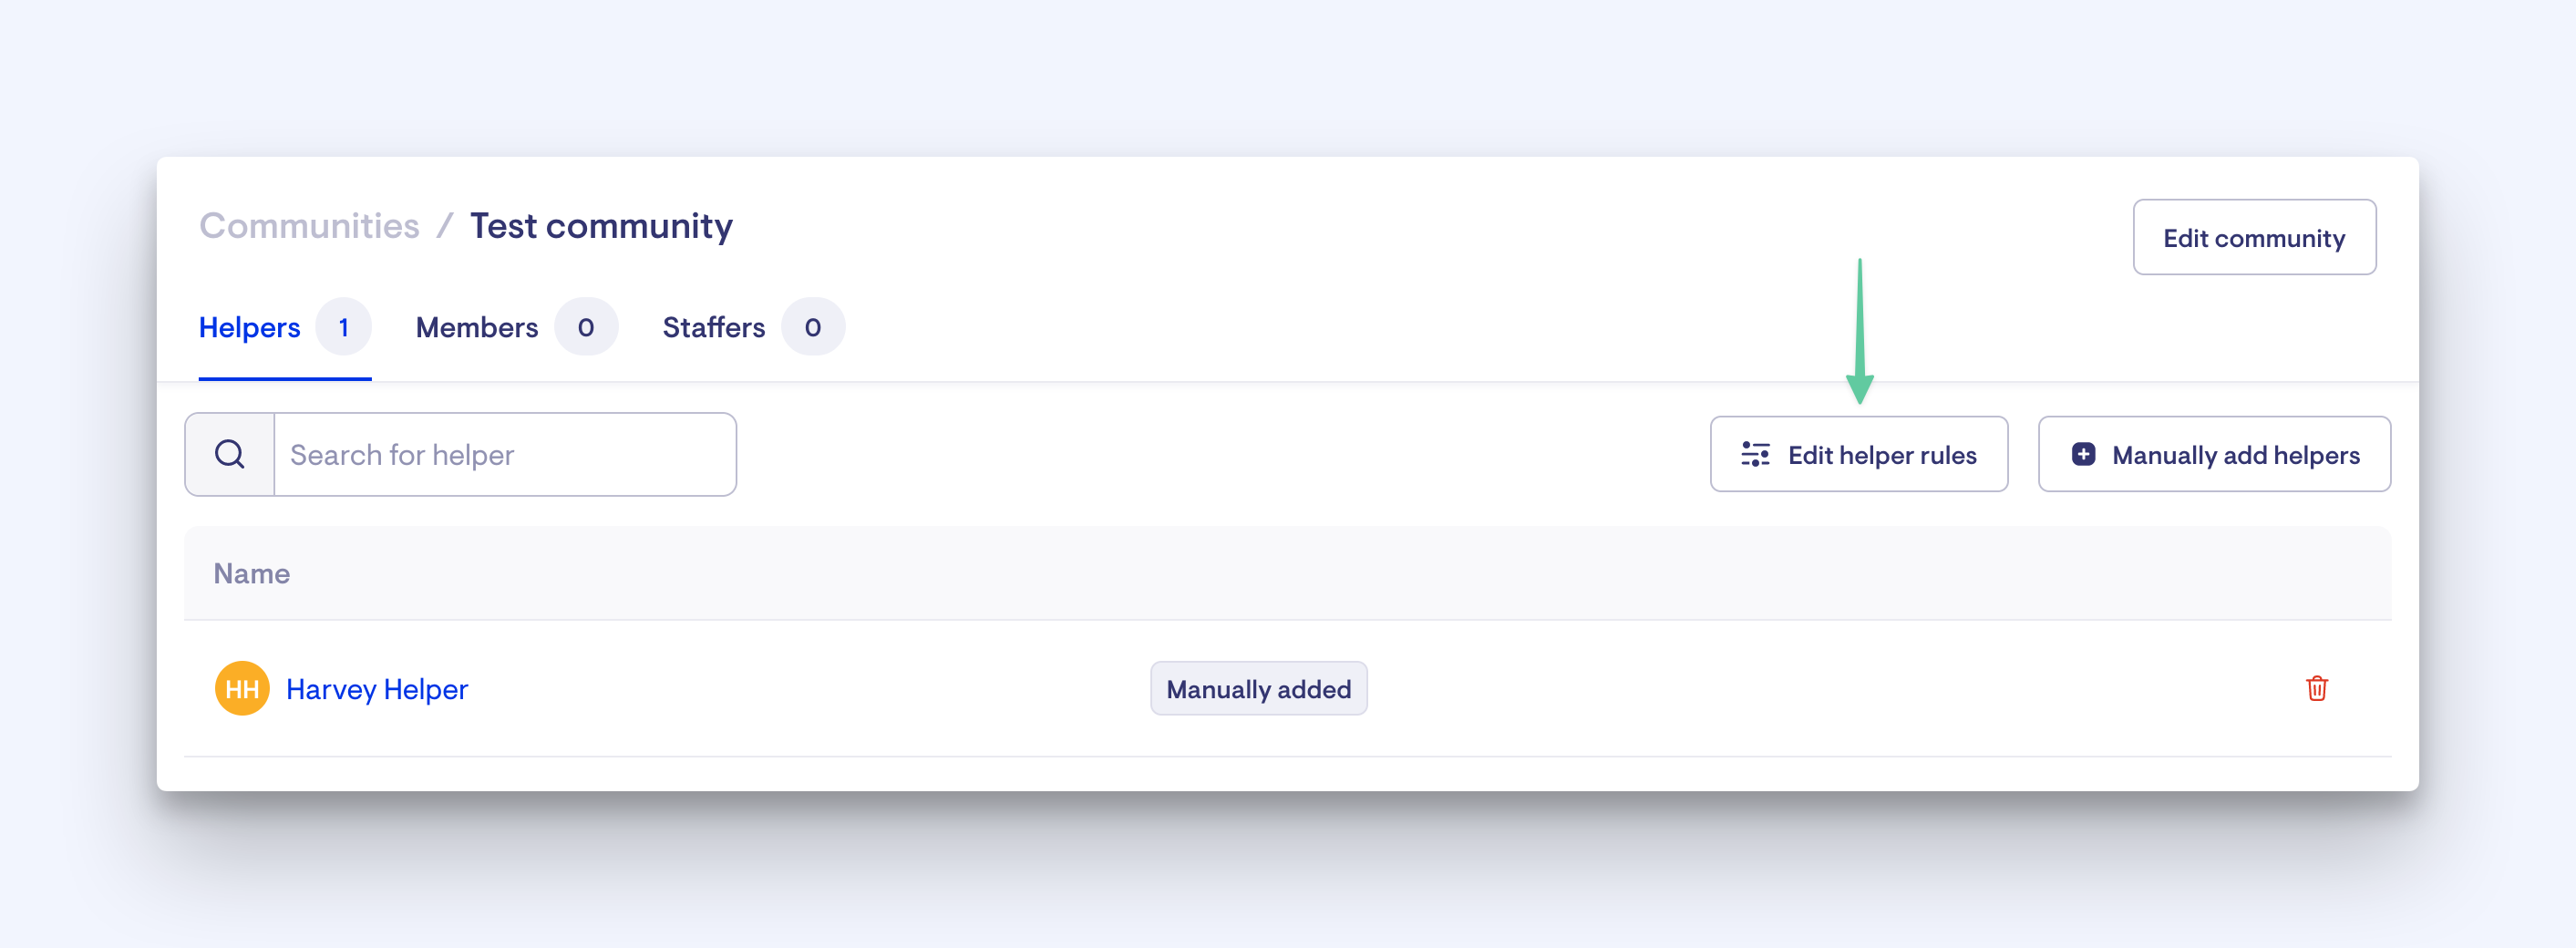
Click the ‘Edit helper rules’ button
-
Enter your desired criteria - as per the above example, let’s say you want all Helpers within 10kms of an address to be added to this community, you would click ‘Location’ in the filter sidebar and enter the address and the distance
-
Click ‘Show helpers’ at the bottom of the filter side panel
-
This will display a list of all the Helpers who currently meet the criteria. These Helpers will automatically be added to the community
-
Click ‘Save helper rules’
The community will now contain all the Helpers that match your criteria.
The list may contain the tags ‘Dynamic’ and ‘Manually added’ - this is to show which Helpers have been added via the Helper rules (Dynamic) and which have been manually added to the community (Manually added). Manually added Helpers can be deleted from this screen using the trash icon.

You can edit the Helper rules at any time by clicking the ‘Edit helper rules’ button.
Add a Member to a community
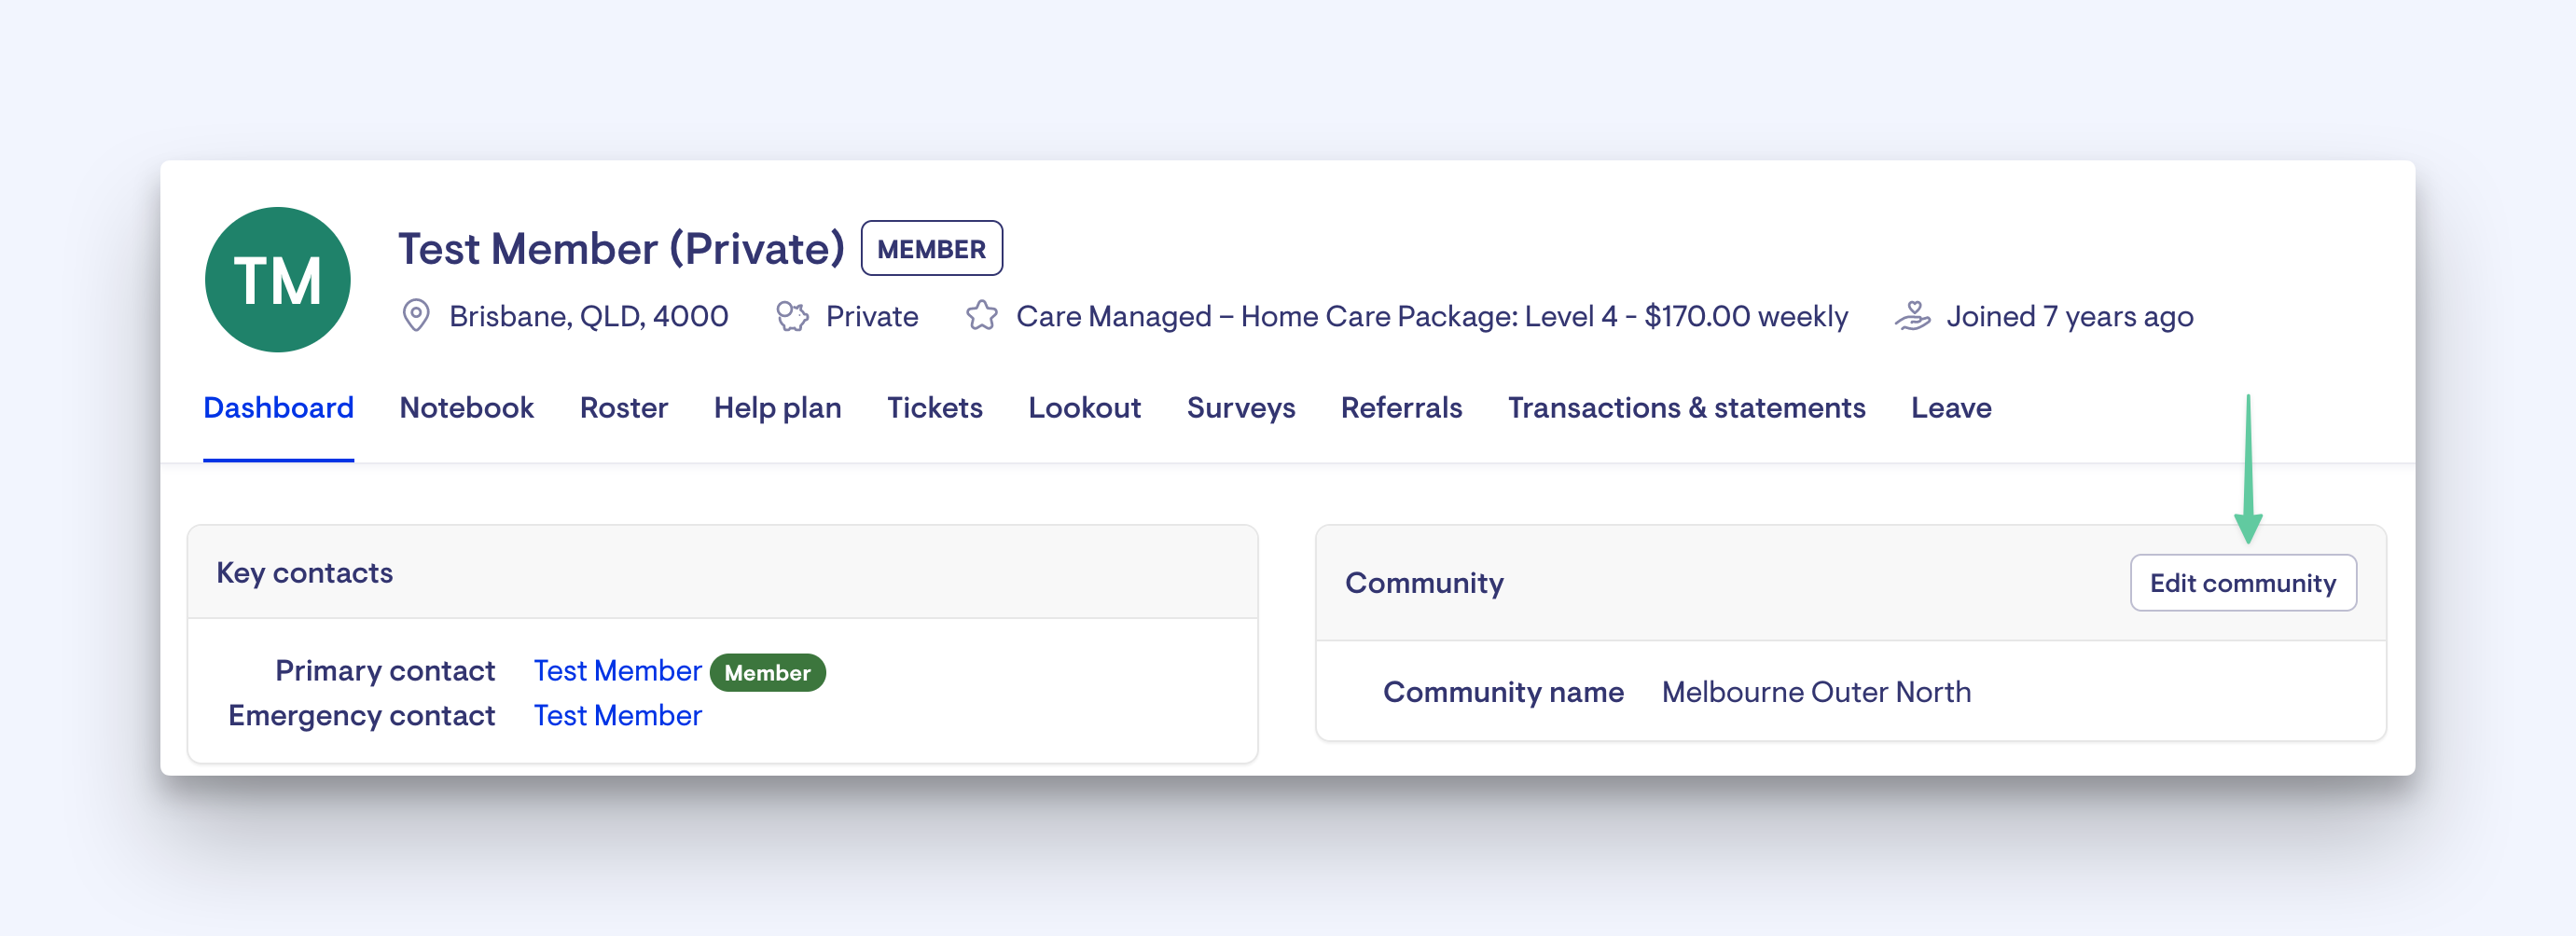
Members can be added to a community either when they’re new Membership is set up, by selecting the community in the new membership form, or by navigating to the members dashboard by clicking ‘Members’ in the navigation, finding the Member in the list and clicking their name.
When in the Members dashboard, click ‘Edit community’ and select the desired community from the next screen.
Adding a staffer (admin staff) to a community
-
Click on the community to which you wish to add a staffer
-
Click on the ‘Staffers’ tab at the top
-
Click on ‘New staff member’
-
Select the staffer from the dropdown list and assign a community role
-
Add a title
-
Select whether or not the staffer will be visible to Members and Helpers
-
Click 'Save'
To remove a staffer from the community, click the three-dot button next to the staffers name and select ‘Remove’
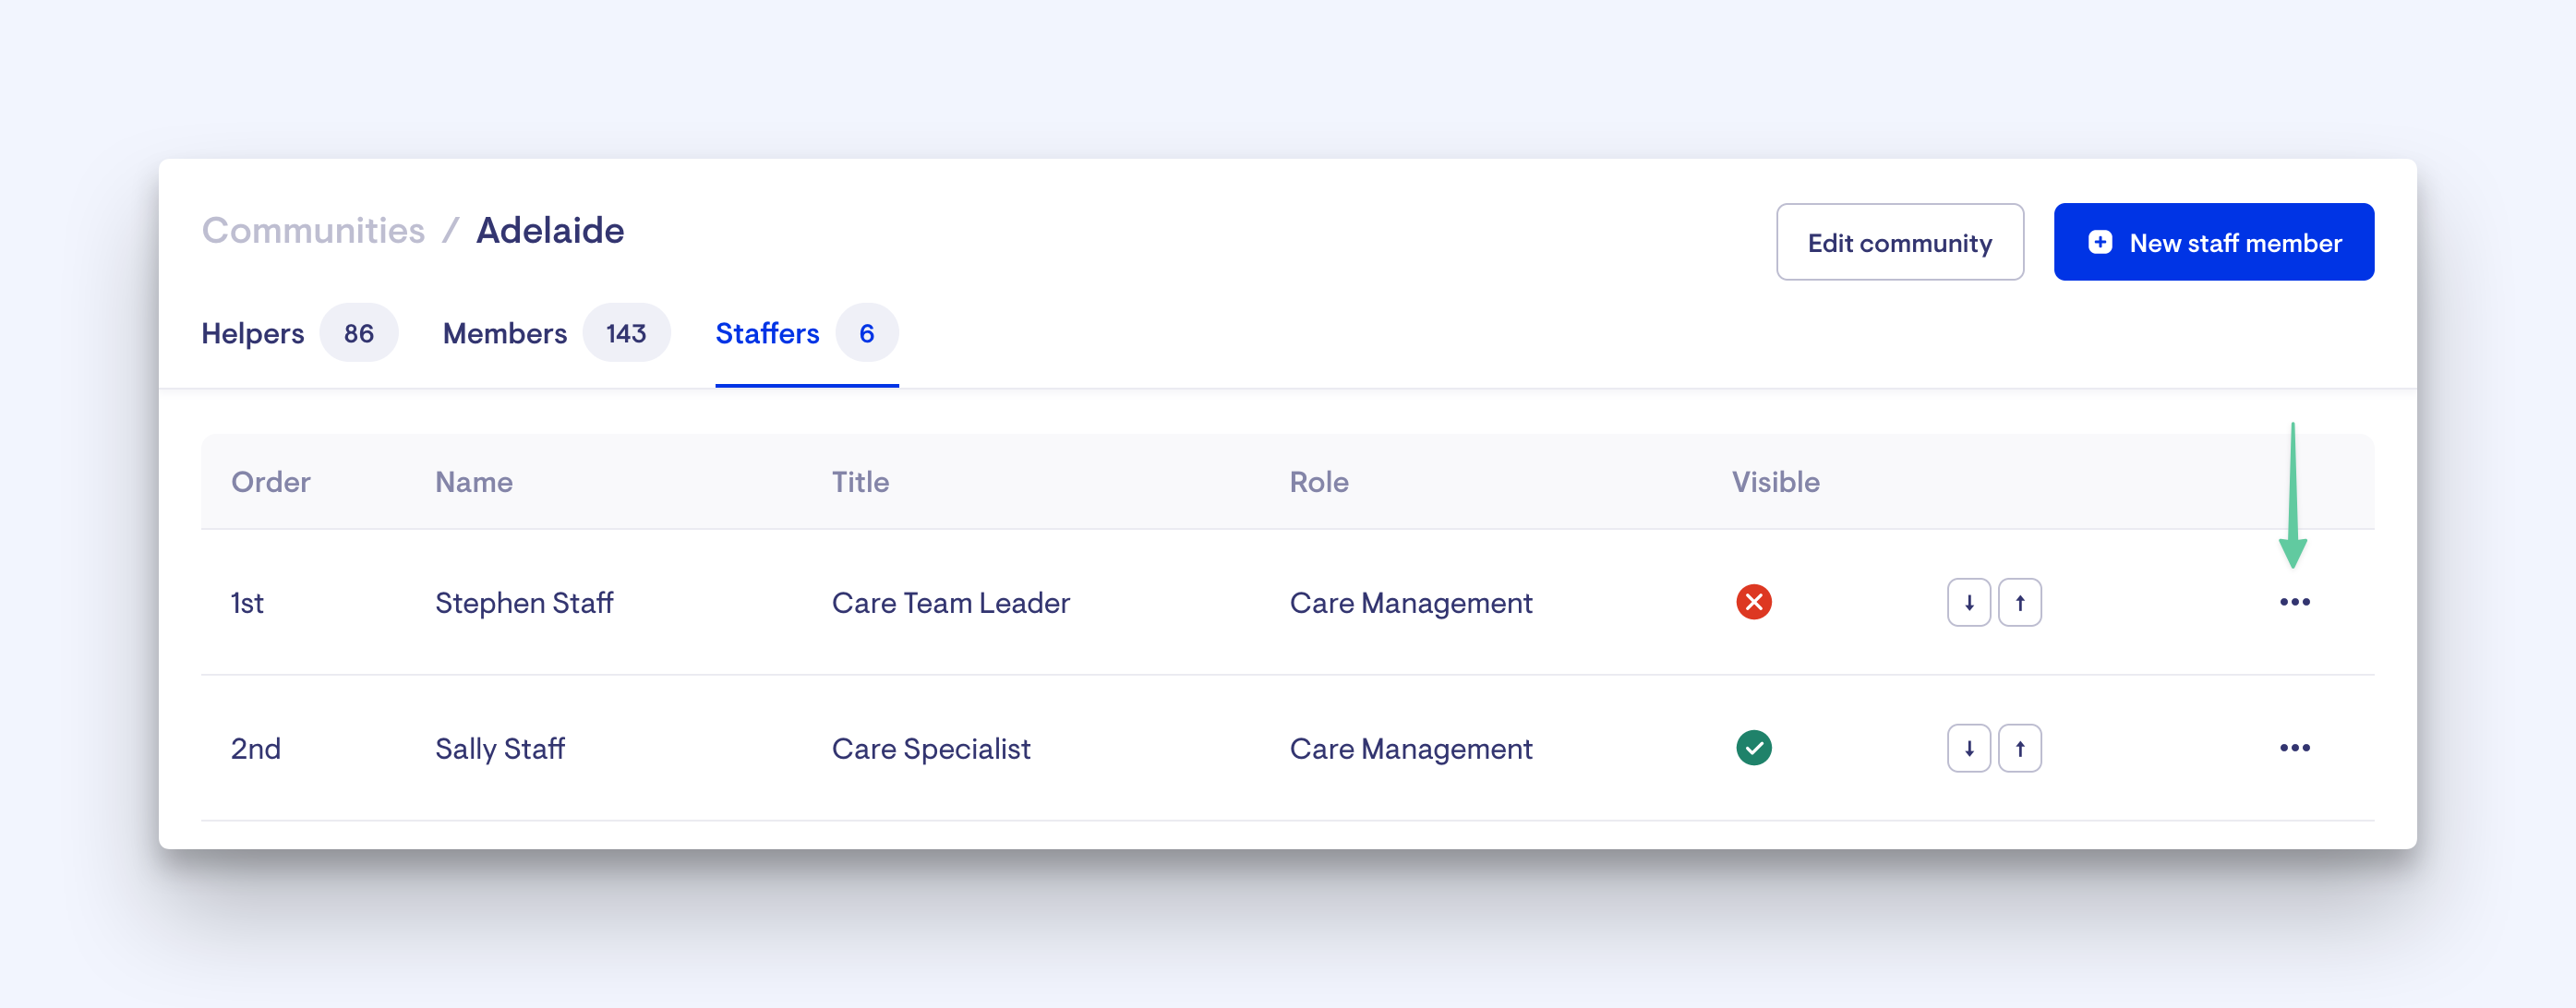
To add or remove a staffer, you need Staff Management access. If you cannot access the Staffers tab or see the Manage staffers option, contact your administrator to grant you the necessary access.
What are Community Roles?
There are currently three community roles for staffers. The main purpose of these roles is to act as a label for delegating ticket template 'Assigned roles'.
Staffers with the selected community role will be set as assignees when a ticket gets created.
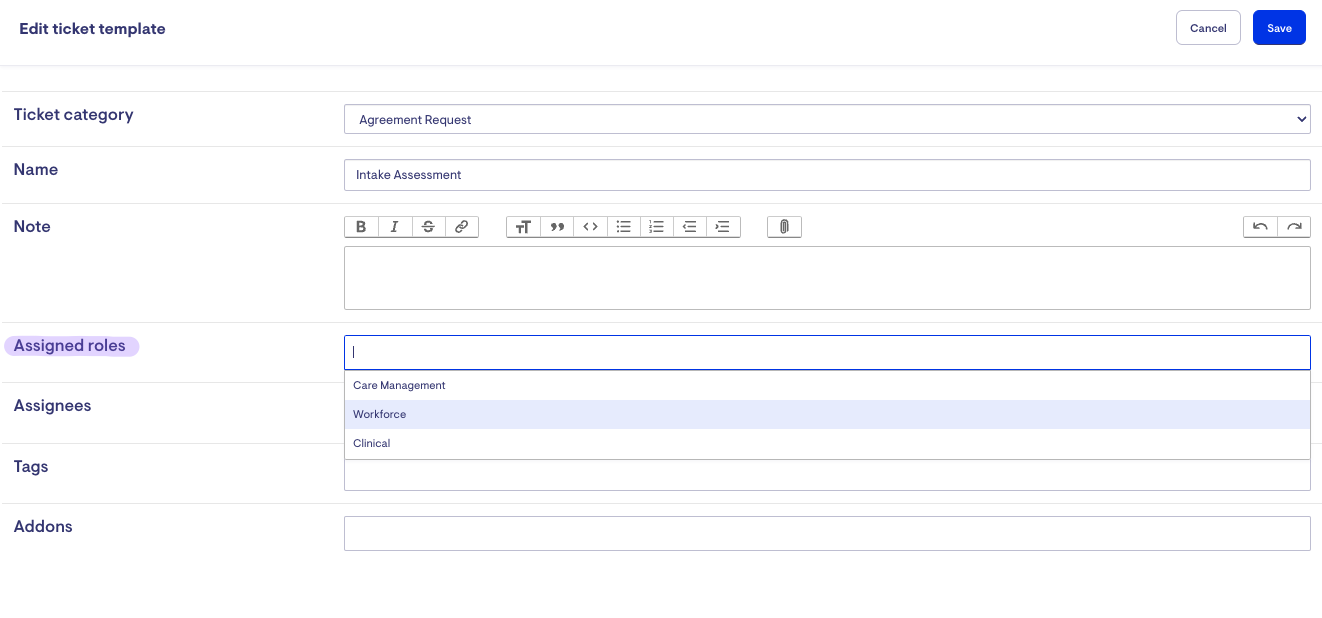
Additionally, staffers with Care Management roles will receive Observation alerts from Lookout's Remote Care Monitoring within their dashboards.
